
Categories, menus and pages
Organize products into categories and subcategories, customize your header and footer menus, and create pages like About us and FAQ.
Open this page in your dashboardIt all lives on the Content page, which has three tabs: Categories, Menus and Pages.
Categories

- Click New category and enter a Category name. The link fills in automatically, and you can change it.
- To make it a subcategory, pick a Parent category (one level deep). Products in a subcategory also show in its parent.
- Add a Category image if you like, then save.
- Drag to reorder: the order here is the order in your store.
To put a product in a category, pick the category on the product page. Translate categories shows up when your store has more than one language.
Menus
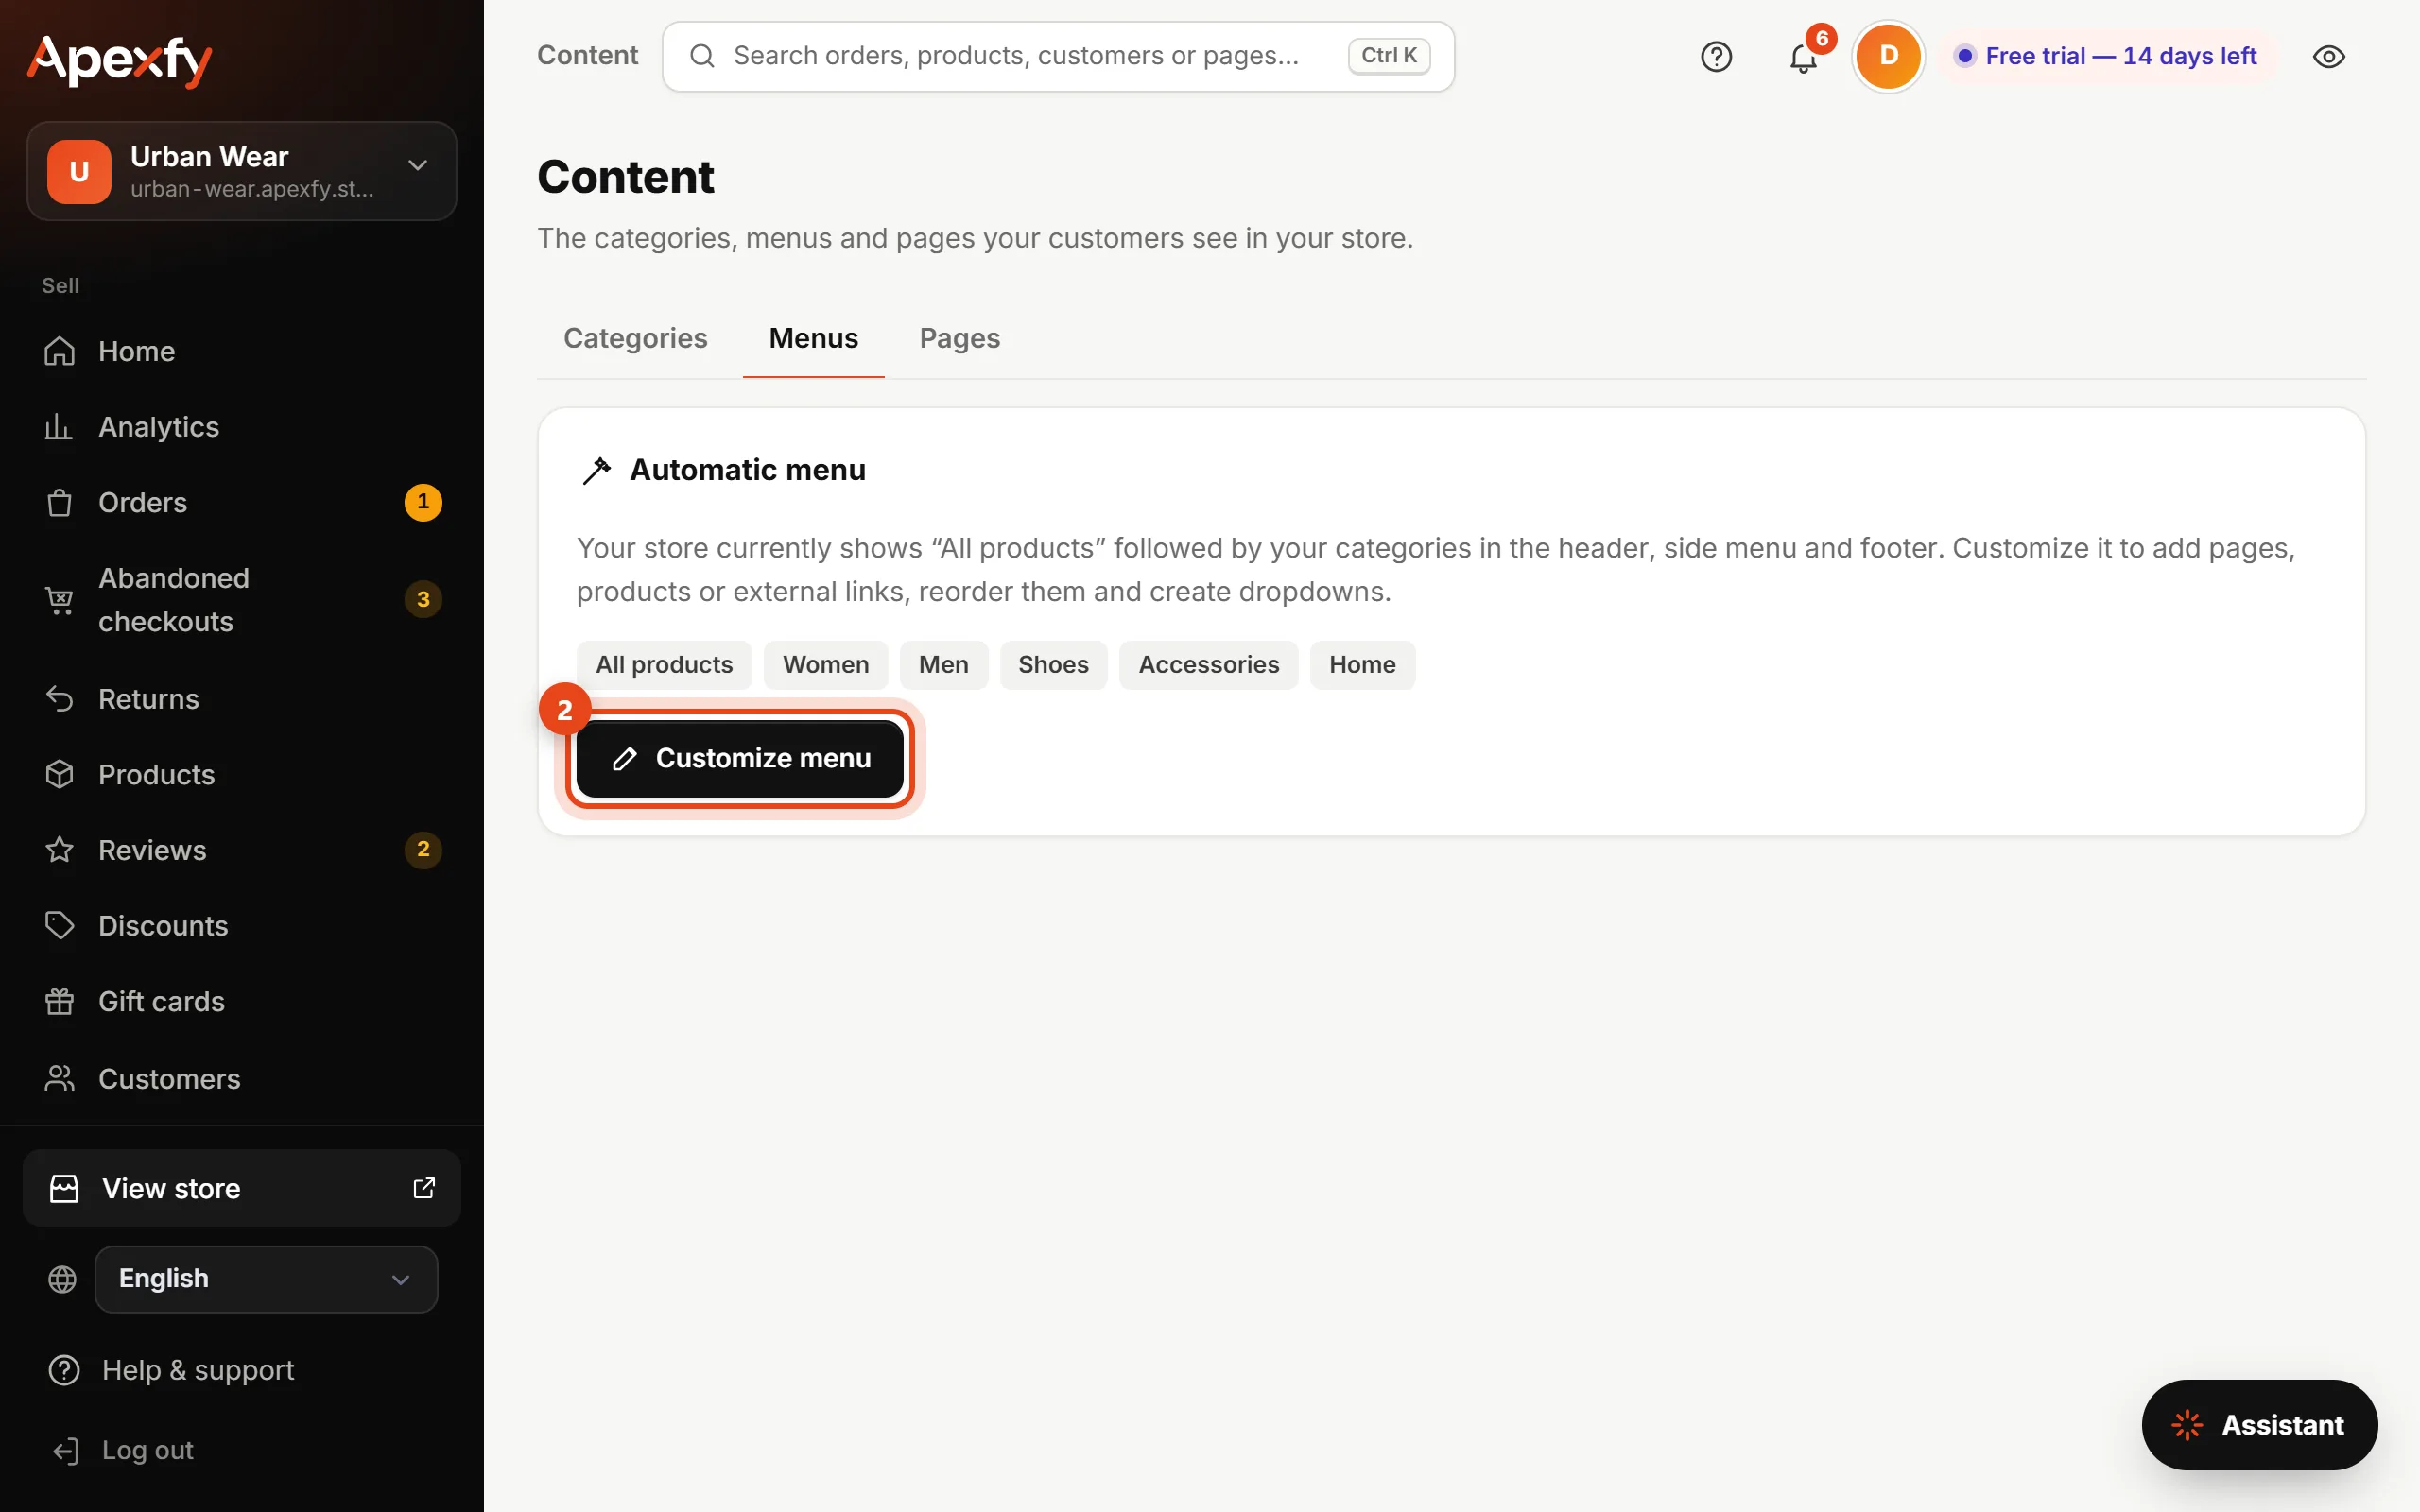
Your store starts with the automatic menu: "All products" followed by your categories. To change it, click Customize menu:
- The Main menu shows in the header and in the mobile side menu. The Footer menu shows at the bottom of every page.
- Click Add link and pick its type: Home page, All products, Category, Page, Product, Policy or Custom link.
- Enter a Menu label if you want a different name from the original.
- Make a link a sub-link so it shows in a dropdown under the link above it.
- Drag links to reorder them, then save.
Turn on Add new categories to the menu automatically so you never forget one. To undo your changes, click Back to the automatic menu.
Pages

- Click New page and pick a template: About us, FAQ, Contact us, Shipping & delivery or Blank page.
- Enter the page title and check the link (it looks like
/pages/your-link), then click Create and design. - The design editor opens with the page's sections. Edit the text and images just like in Store design, then click Save & publish.
- In the page list, click Add to menu so customers can find it.
From the same list: Design to edit, Page settings for the title, link and Search engines, Unpublish to hide it for a while, or delete it.
Blog
Write posts that help your customers, like size guides, how-tos or store news, and bring you visitors from Google. Your blog lives at /blog in your store.

- Open the Blog tab and click New post.
- Enter a Title (the link fills in automatically), and add a Cover image and a Short summary if you like.
- Write the Content. Formatting is simple:
## heading,bold,- list,> quote,textandon its own line. - Add Tags (like tips, sizing), an Author if you want, and a Search title and Search description for Google.
- Choose Published and click Save, or leave it as a Draft until it's ready.
Add the blog to your store menu from the Menus tab: Add link → type Blog. Every published post is added to your sitemap automatically, with structured data that helps Google understand it.
URL redirects
If you moved your store from Shopify, Salla, Zid or WooCommerce, your old product links are still in Google and in your posts. Point them to your new store pages so visitors never land on a “not found” page and you keep your search ranking.

- Open the URL redirects tab.
- Click New redirect, enter the Old URL (for example
/ar/shoes/p123) and the new one in Redirect to (for example/c/shoes), then Save. - Have a lot of them? Click Paste a list and paste one redirect per line: the old URL, a comma, then the new one. Shopify's redirect CSV works as is, up to 2,000 lines at a time.
- Click Try it next to any redirect to check it opens the right page. The Visits column shows how often it's been used.
/products/name to the product, /collections/name to the category and /blogs/… to your blog. This works when the product link here matches the old one, which is what happens when you import your products from Shopify.